
MILK POWDER PACKAGING GUIDE
Start With the Powder, Then Choose the Pack
Milk powder packaging has two jobs: protect the product during storage and work consistently on the filling line. A pouch can look attractive yet leave too little room for filling, trap powder in the seal or provide a barrier that does not match the intended distribution conditions.
Start with the formulation, fill weight and packing method. Whole milk powder, skim milk powder and blended dairy powders can have different priorities. Moisture protection matters for dry powder, while oxygen exposure deserves particular attention when the formulation contains oxidation-sensitive fat.
This guide explains how to compare formats, discuss barrier films and check filled samples before ordering. For a starting point on available formats, explore our dairy packaging solutions.
POUCHES AND ROLLSTOCK
Match the Format to the Filling Method
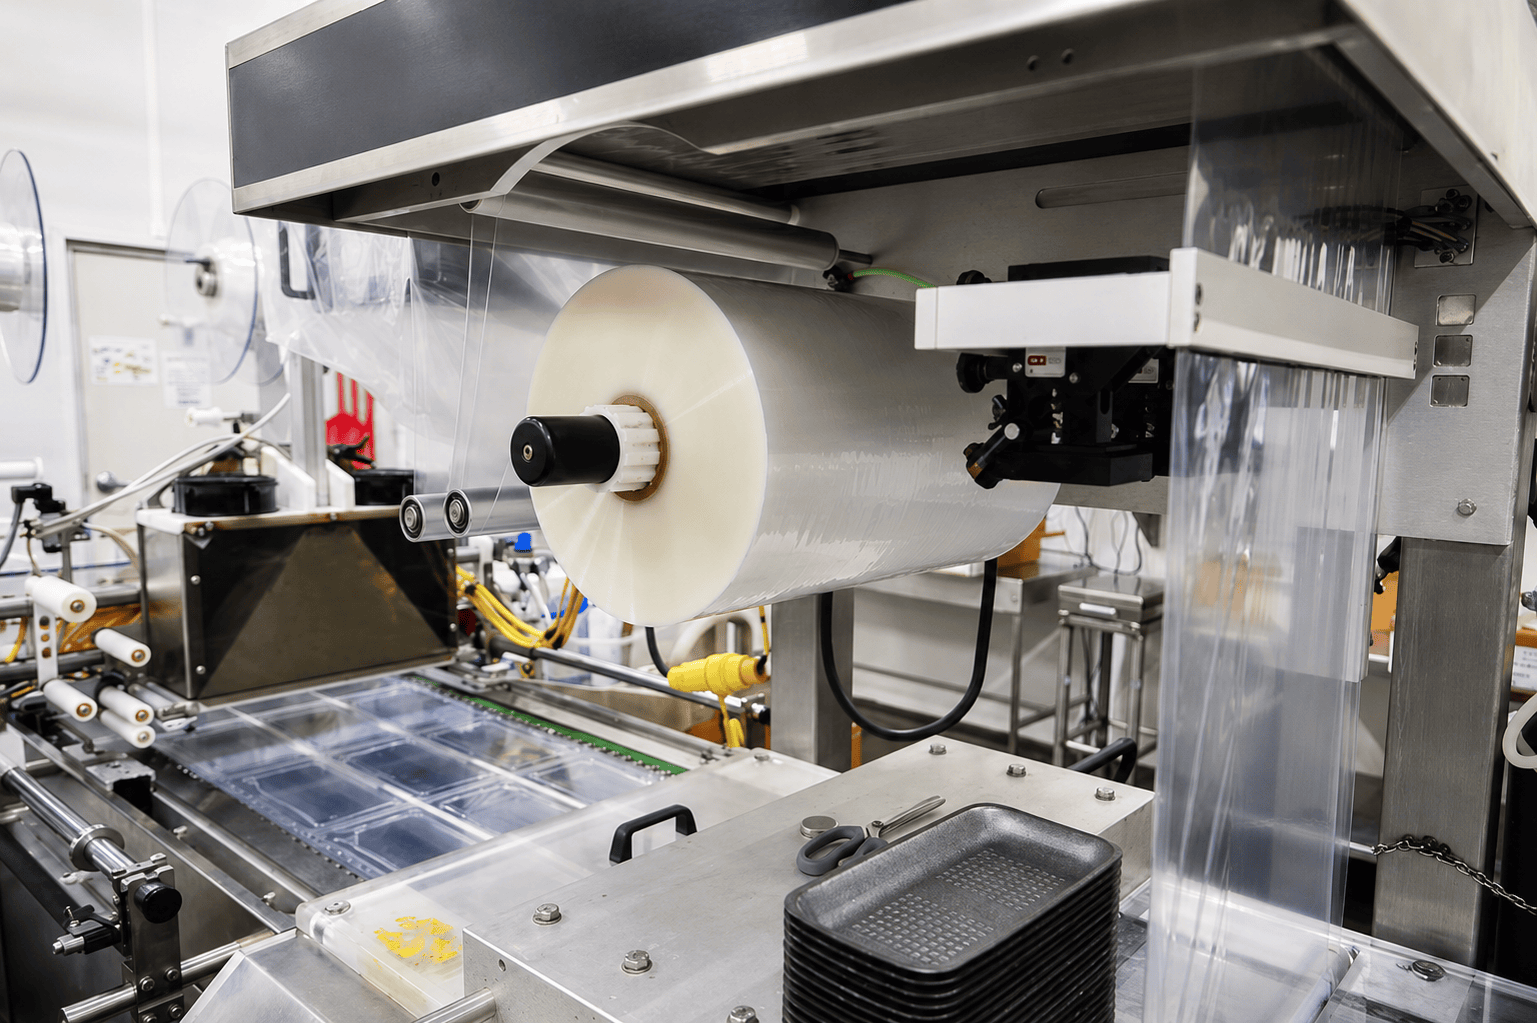
Choose the format around portion size, how customers use the product and the equipment that will fill it. A premade pouch and a pack formed from rollstock require different specifications.
Fill weight alone does not determine pouch size. Bulk density, settling and headspace affect the required volume. Test your powder in a filled sample before approving a stand-up pouch size.
BARRIER FILM SELECTION
Specify the Barrier, Not Just the Film Appearance
Moisture entering a pack can change powder flow and encourage caking. Oxygen exposure can contribute to flavour changes in susceptible formulations. The required protection depends on the powder, target shelf life and the temperature and humidity expected during transport and storage.
Ask for water vapour transmission rate (WVTR) and oxygen transmission rate (OTR) data for the proposed film, including units and test conditions. Results measured under different conditions are not a reliable like-for-like comparison. Film thickness or a metallic appearance alone does not establish barrier performance.
Foil, metallised films and other barrier structures may be options, depending on the application. Each must also meet the sealing, handling and converting requirements. A high-barrier film still needs sound seals and protection from damage in the finished pack.
Agree the barrier target with the product and quality teams before finalising the structure. Shelf life should be supported by product-specific validation; it cannot be promised from a material name alone.

FILLING AND SEAL INTEGRITY
Keep Powder Out of the Seal Area
Fine powder can reach the sealing area during dosing. Product trapped between the sealing surfaces can interfere with a consistent closure. Review fill height, dust control and any seal-area cleaning step with the packing team rather than relying on the film to compensate for contamination.
Use the actual powder and equipment during trials. Seal temperature, pressure and dwell time work together; the settings must be suitable for the film and production conditions. A sample sealed slowly by hand does not establish how the pack will behave at the planned line speed.
Inspect filled packs for wrinkles, trapped powder and uneven seals, including gusset transitions where relevant. Check the agreed seal strength and leak-test criteria. A neat-looking seal is useful, but appearance alone does not confirm integrity.
If the process uses gas flushing, specify how the team will measure and control it. Nitrogen flushing is an application-dependent choice, and it does not replace the need for a suitable barrier and reliable closure.
SIZE, RECLOSURE AND ARTWORK
Leave Room for Filling and Everyday Use
Check pouch dimensions with the actual powder, not an empty bag. Allow for dosing, settling and a clean top seal. For a multi-use pack, confirm that the opening is practical for pouring or for the intended scoop without crowding the zipper.
A zipper helps customers reclose a pouch, but the unopened pack's protection comes from the complete packaging system, including its initial seal. Powder caught in the zipper can make reclosing difficult. Evaluate repeated opening and closing with a filled sample and give appropriate storage instructions for the product.
Place tear notches, zipper, seal bands and printed information on the approved drawing before releasing artwork. Keep batch and date-code areas clear of folds and gussets so codes remain readable on the finished pack.
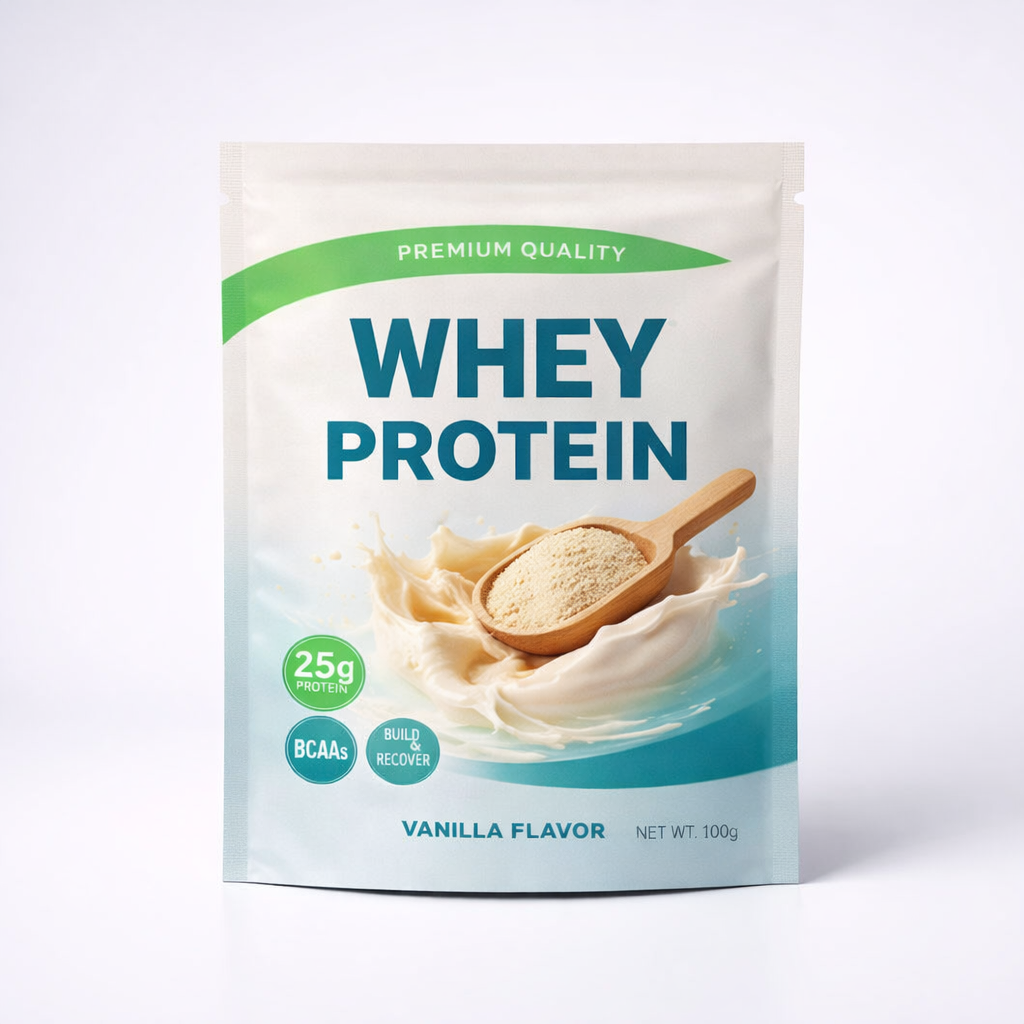
The pictured whey protein pouch is a related dairy-powder format example. Its dimensions, closure and film should not be assumed suitable for another formulation without checking.
SAMPLE AND LINE APPROVAL
Approve the Filled Pack Before Production
Build approval around a filled sample and, where applicable, a machine trial. Confirm the target weight, headspace, seal layout and pack dimensions using production-representative conditions. Evaluate packs after normal handling as well as directly after sealing.
For rollstock film, share the machine's required film width, print repeat, registration-mark position, core size, maximum roll diameter and unwind direction. The packing team should also review film travel, tracking, forming and seal performance at the intended operating speed.
Agree how the product will be assessed during storage. Caking, flow, aroma and other quality checks should follow the product team's protocol. Where gas flushing is part of the process, include the relevant residual-oxygen checks. Packaging samples do not replace product-specific shelf-life validation.
Keep the approved drawing, artwork proof, material specification and trial findings together. This makes repeat orders clearer and gives both teams a reference if a size, formulation or filling setup changes.
RELATED PACKAGING GUIDES
Continue Planning Your Powder Pack
- Moisture Barrier Packaging for Dry Food Products — review moisture protection alongside the storage and distribution conditions.
- Stick Pack vs Sachet Packaging — compare portion-pack formats and the information needed for a filling-line discussion.
- Pillow Pouch Packaging Guide — explore a rollstock-based format and its forming and sealing considerations.
MILK POWDER PACKAGING FAQ
Milk Powder Packaging: Common Questions
These questions cover the practical decisions to confirm before choosing a pouch or ordering printed film for milk powder.
The suitable format depends on fill weight, how the product is used and the filling equipment. A resealable pouch may suit a multi-use retail pack, while portion packs and rollstock-based formats suit other workflows. Confirm dimensions, barrier requirements and seal performance with the actual powder.
No single film structure is suitable for every milk powder application. Foil and other barrier structures can be considered against the required moisture, oxygen and light protection. Compare relevant barrier data, sealing requirements and filled-pack performance before approving a material.
Nitrogen flushing is an application-dependent decision. The formulation, target shelf life and filling process determine whether it is needed. If used, agree the gas-flushing process and residual-oxygen checks with the packing team. It does not replace a suitable barrier film or sound seals.
Review dosing, fill height, dust control and the seal-area cleaning process. Trial the actual powder and film on the intended equipment, then inspect for trapped product, wrinkles and uneven seals. Use agreed seal-strength and leak-test criteria instead of judging the closure by appearance alone.
Share the powder type, fill weight, proposed pack size, packing method, barrier targets and storage conditions. Include machine specifications for rollstock, plus artwork, quantity, destination and timing. An existing pack or approved drawing can help clarify the starting requirements.
DISCUSS YOUR MILK POWDER PACK
Need Custom Milk Powder Packaging?
Share your powder type, fill weight, packing method and storage requirements with PaperMyna. Include an existing pack or approved drawing if available, so the format, material options and printing details can be reviewed around your application.