
Why Bottle Labels Lift at the Edges: Causes and Checks

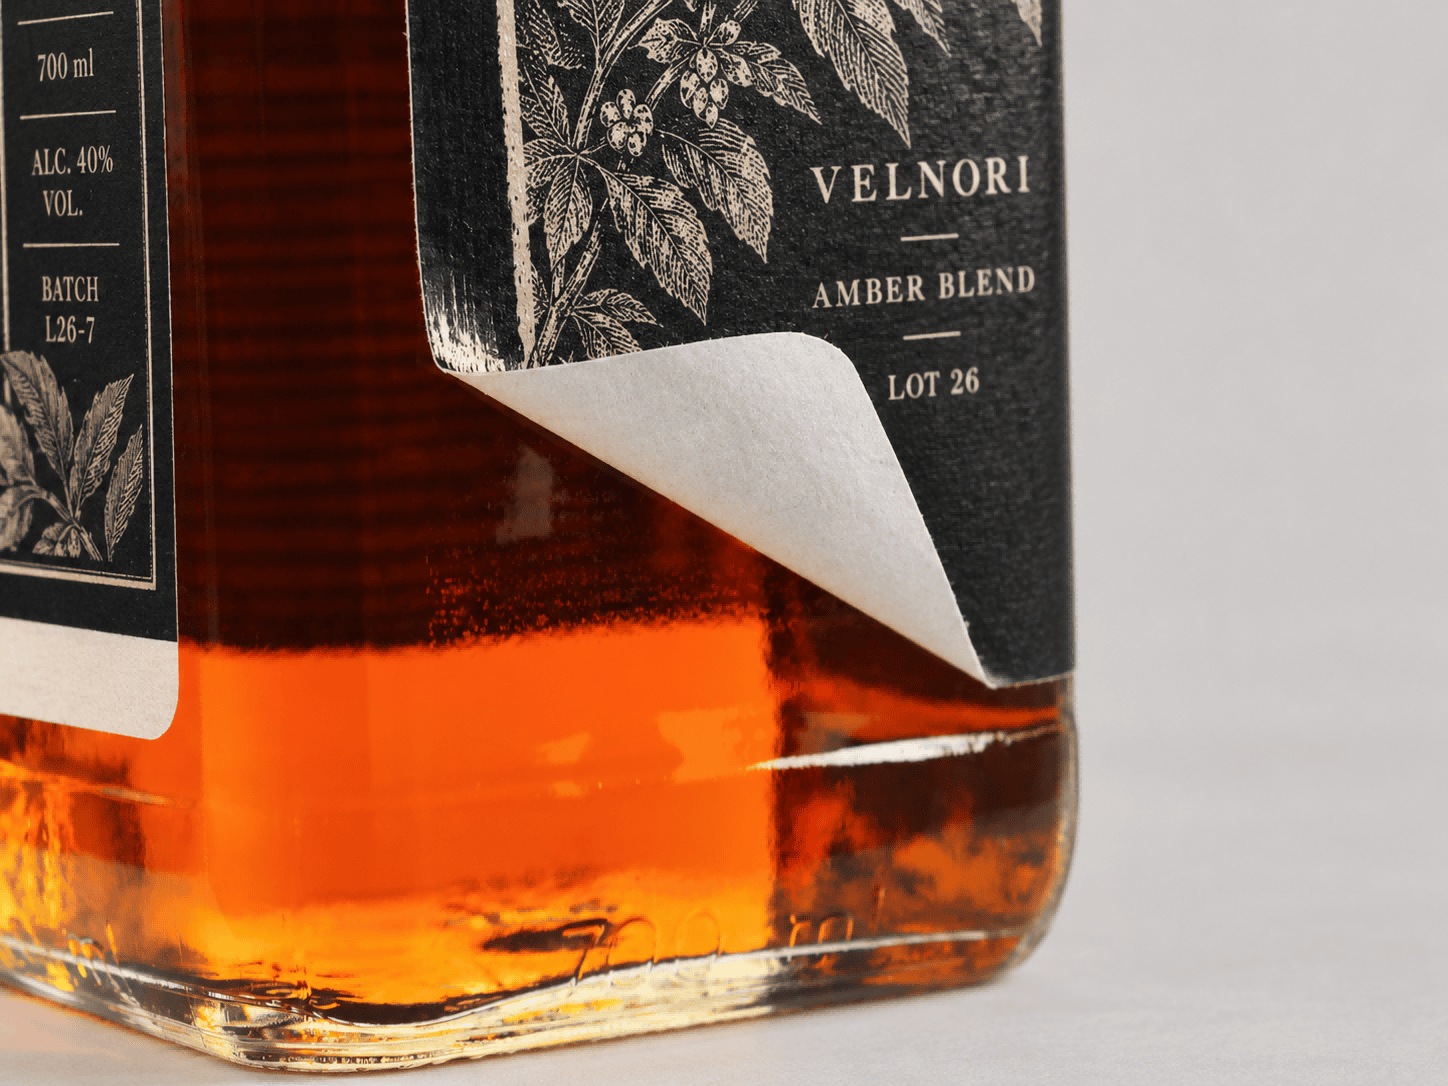
Black paper label curling away from the lower corner of an amber glass bottle
Illustrative close-up of a label corner lifting away from a bottle.

BOTTLE LABEL TROUBLESHOOTING

Start with the lifted edge, then work back

A label can look smooth when it is applied and have a raised corner the next morning. Pressing it down again may hide the problem briefly, but it does not explain why the edge came away.

When bottle labels are lifting, check four things together: the bottle’s shape, the finished label’s stiffness, the adhesive’s suitability for the surface, and the application conditions. Changing the glue before checking the other three can send a sampling round in the wrong direction.

The examples below follow three common setups: a small glass bottle, a personal care bottle and a production labeling line.

READ THE DAMAGE

Lifting, wrinkling and torn paper need different checks

Look closely before calling every damaged corner an adhesion failure. Photograph the label in place and keep an untouched sample for comparison.
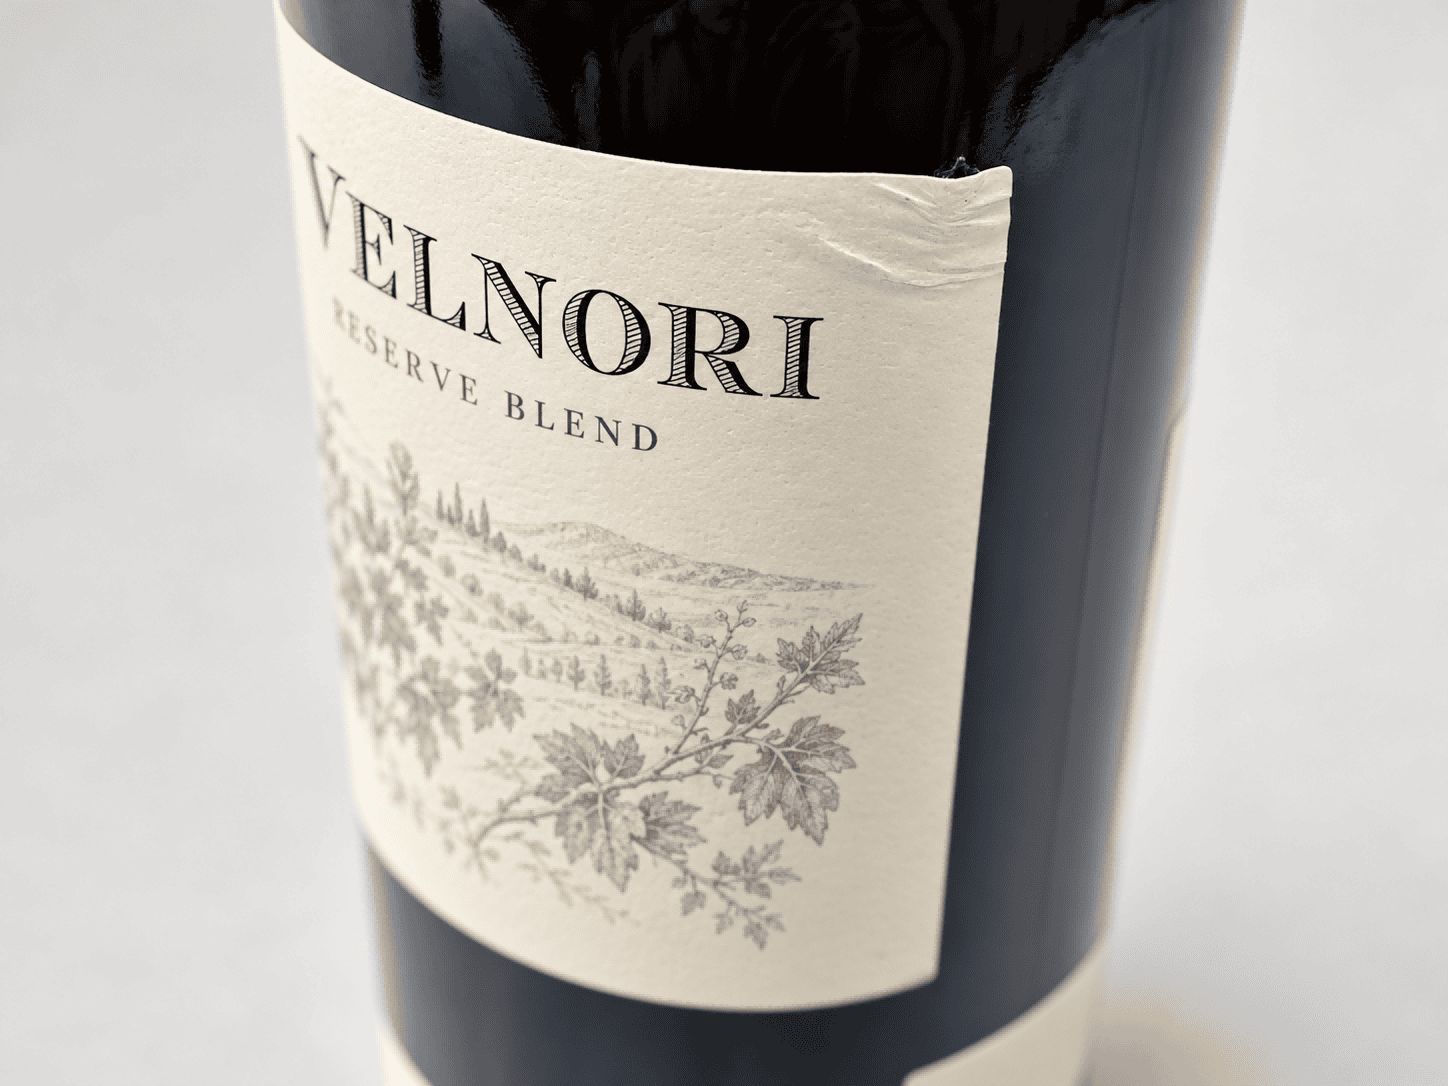
Cream paper label with wrinkles near its upper corner on a dark glass wine bottle

WRINKLING

A crease is not the same as a free edge

A wrinkle is a fold or ridge within the label. Check alignment, bottle taper and whether the label was laid down evenly. Moisture-related changes in paper can also matter. Note whether an edge is actually detached.
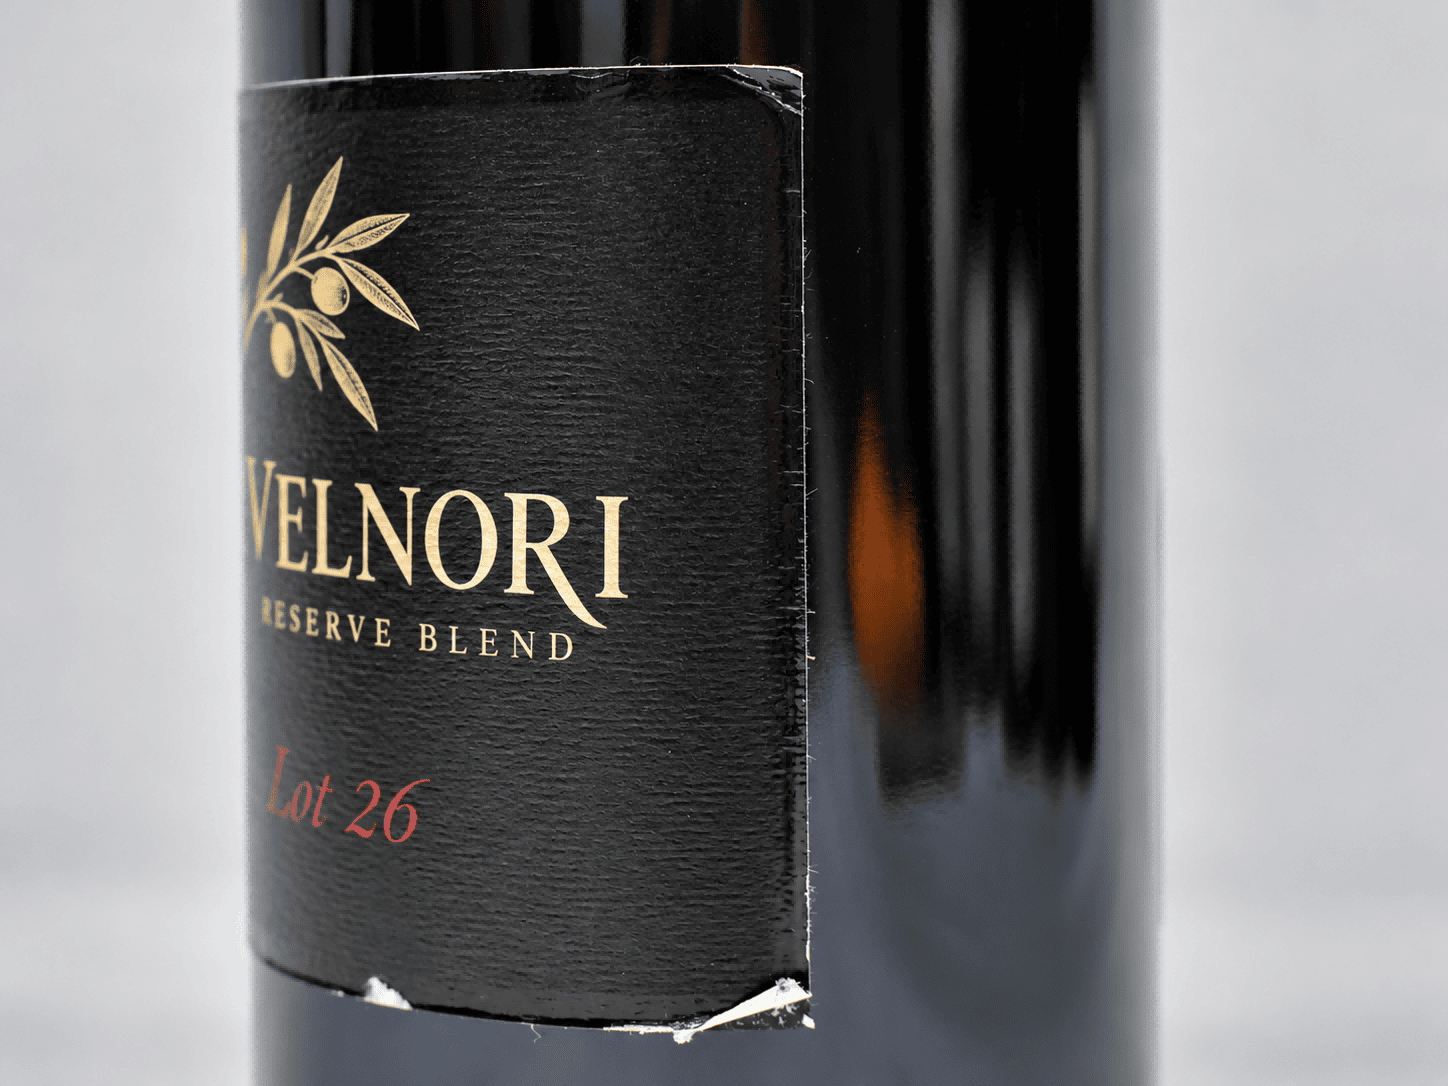
Black paper label with a torn lower edge exposing white paper fibers on a glass bottle

PAPER DAMAGE

Exposed fibers point to a different question

A torn or scuffed edge can leave fibers behind while part of the adhesive bond remains intact. Inspect where bottles rub against guides, dividers or other bottles. Do not use a damaged edge alone as evidence that the adhesive is too weak.

FIRST CHECKS

What the lifting pattern can tell you

These observations help choose the next comparison. They do not identify the cause on their own.

What you see
What to inspect
Useful comparison
One corner lifts repeatedly
Shoulder, seam, ridge or uneven pressure at that position
Move the label within the straight-sided area and compare
Both vertical ends spring back
Tight bottle radius and finished-label stiffness
Compare a more flexible construction at the same size
Lift appears after storage
Bond development, moisture, temperature and bottle movement
Keep matched samples in the relevant storage conditions
Only machine-applied labels lift
Alignment, pressure, bottle support and line settings
Hand-apply the same labels to bottles from the same batch
Paper tears where bottles contact a guide
Rubbing and exposed edges
Inspect the handling path as well as the label finish

BOTTLE SHAPE & LABEL SIZE

Check the actual label area on a small bottle

A small amber bottle makes a useful example. Its tight curve asks the label to bend more sharply than a wider jar. A stiff paper-and-laminate construction may try to return towards its flatter shape, putting the ends under tension.

Check the diameter where the label sits, not just the bottle’s widest dimension. Keep the artwork within the usable labeling area. If the label reaches a shoulder or tapered base, reducing its height or revising its shape may be worth comparing before changing adhesive.

For a wraparound label, agree whether the ends should meet, leave a gap or overlap. If they overlap, the adhesive touches the printed or varnished label surface at that joint. Test that contact as well as the bottle contact.
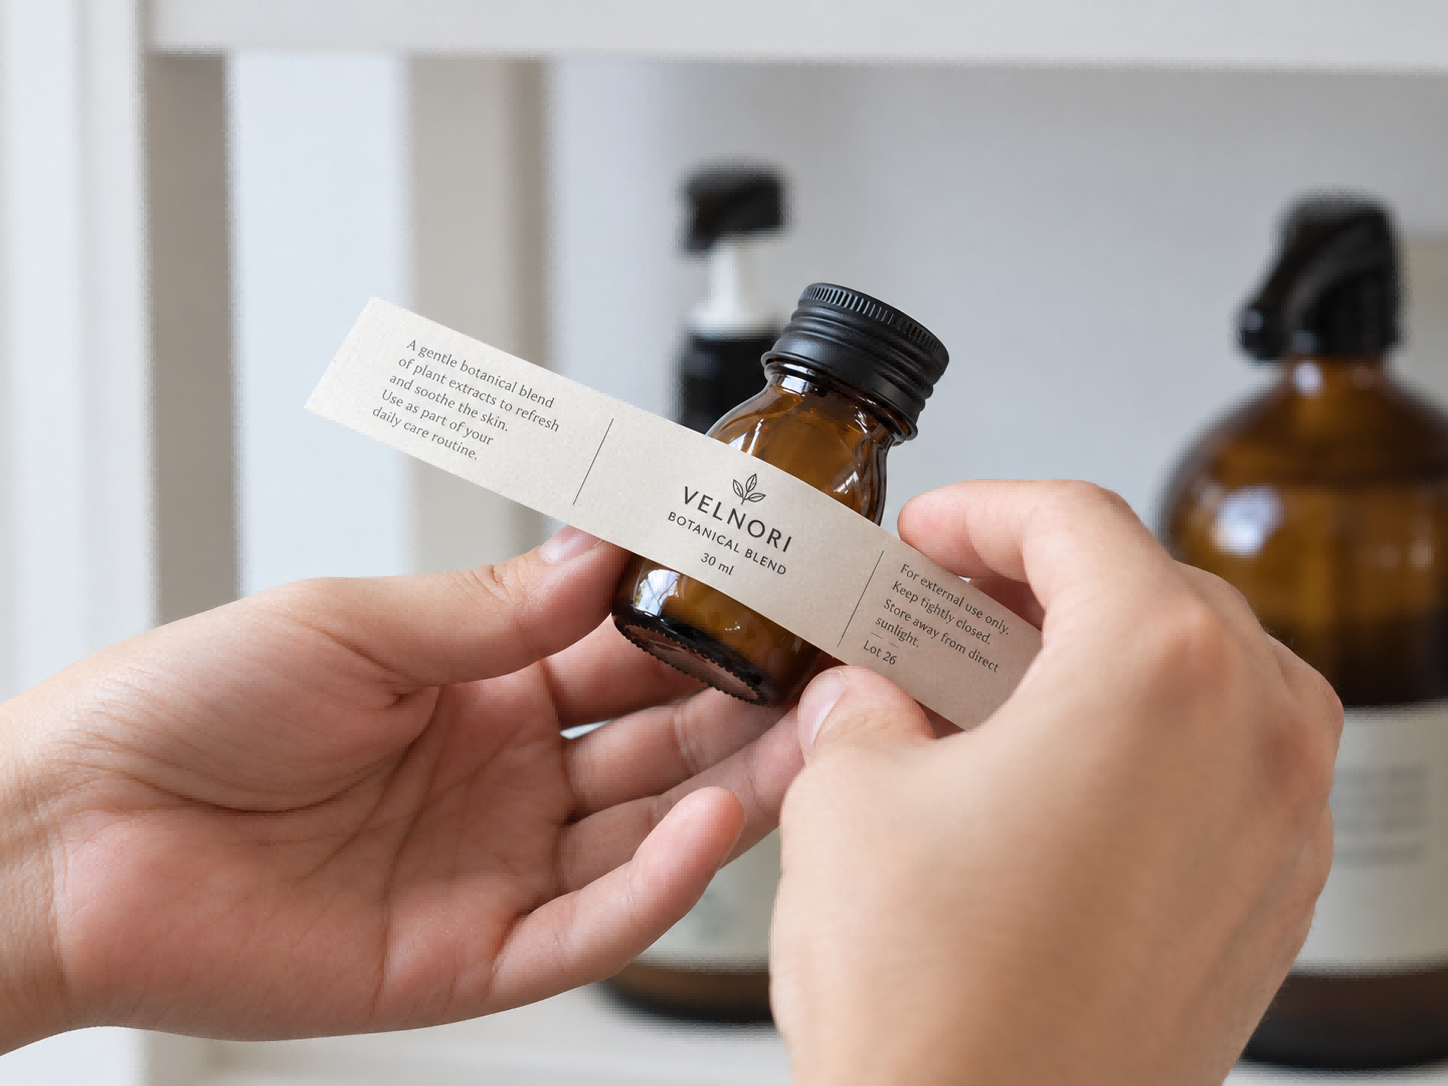
Hands aligning a narrow cream wraparound label around a small amber glass bottle
Illustrative alignment of a wraparound label on a small amber bottle.

FACE STOCK, FINISH & ADHESIVE

Compare the finished label construction

The face stock is only part of the specification. A laminate can change how the finished label bends. Compare printed, finished samples rather than approving an unprinted material swatch and assuming the result will be the same.

Adhesive selection also starts with the actual surface. Glass, PET, HDPE and PP are not interchangeable test substrates. Coatings, texture and surface contamination can change the result even when two containers look similar. Our label adhesive guide explains this wider selection process.

Ask the material supplier about curved-surface performance, sometimes described as mandrel hold. A flat-panel peel result answers a different question from whether a complete label stays down around a tight bottle radius.

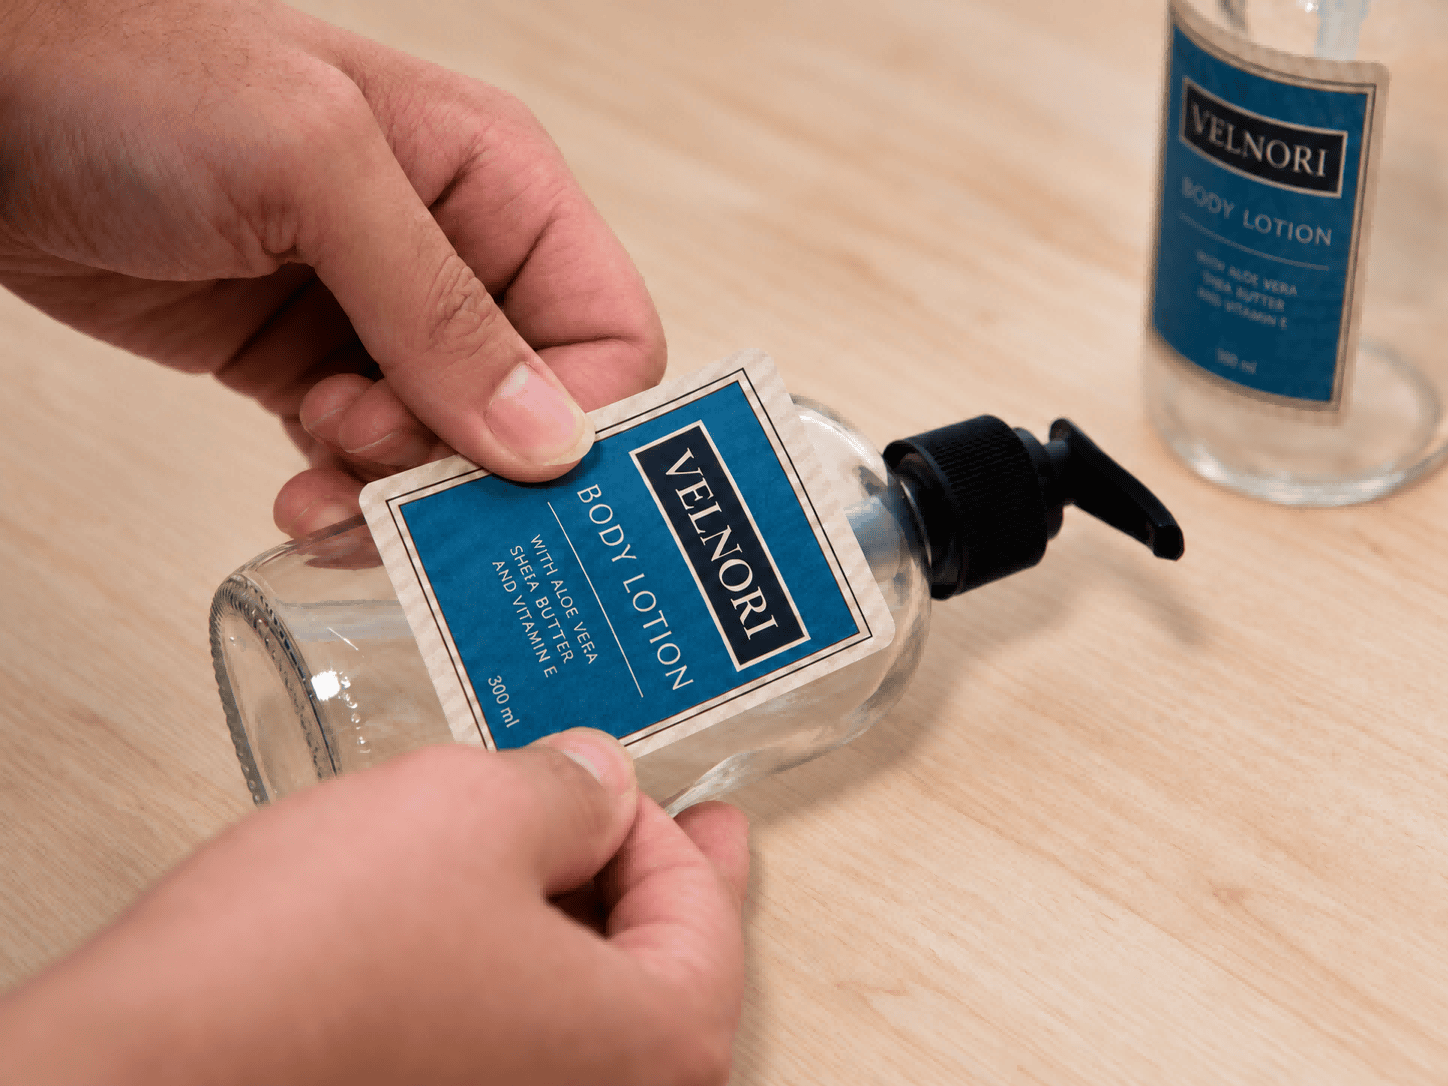
Hands pressing a blue body lotion label onto a clear bottle with a black pump
Illustrative hand application of a lotion label on a pump bottle.

PERSONAL CARE EXAMPLE

A pump bottle needs a handling check too

For a lotion project, start by finding out how much the container wall moves during normal use. A rigid pump bottle and a squeezable bottle can need different label constructions, even if they share similar artwork.

Apply samples to the intended filled container and check the edges after representative handling. Include the expected exposure to water or product residue where relevant. Film may be an option, but different films have different conformability; switching from paper to “film” is not a complete specification.

For cosmetic and personal care labels, include the container and use conditions in the brief alongside the color and finish requirements.

APPLICATION CONDITIONS

Compare hand application with the labeling line

Check that the bottle surface is clean and suitable for the specified adhesive. Dust, oil and condensation can prevent good contact. Any cleaning method should be compatible with the container and leave the surface ready for labeling.

Record bottle and label temperatures at application. The minimum application temperature is different from the service-temperature range after bonding. Use the data for the selected construction; there is no single temperature rule for all bottle labels.

On a production line, inspect the guides, support rollers and wipe-down or pressing stage. Check both ends of the label, not just the center. Avoid pulling a flexible label into place under tension.

If machine-applied samples lift while carefully hand-applied samples stay flat, review the line setup before rejecting the material. Keep bottle batch, label batch and storage conditions the same for that comparison.
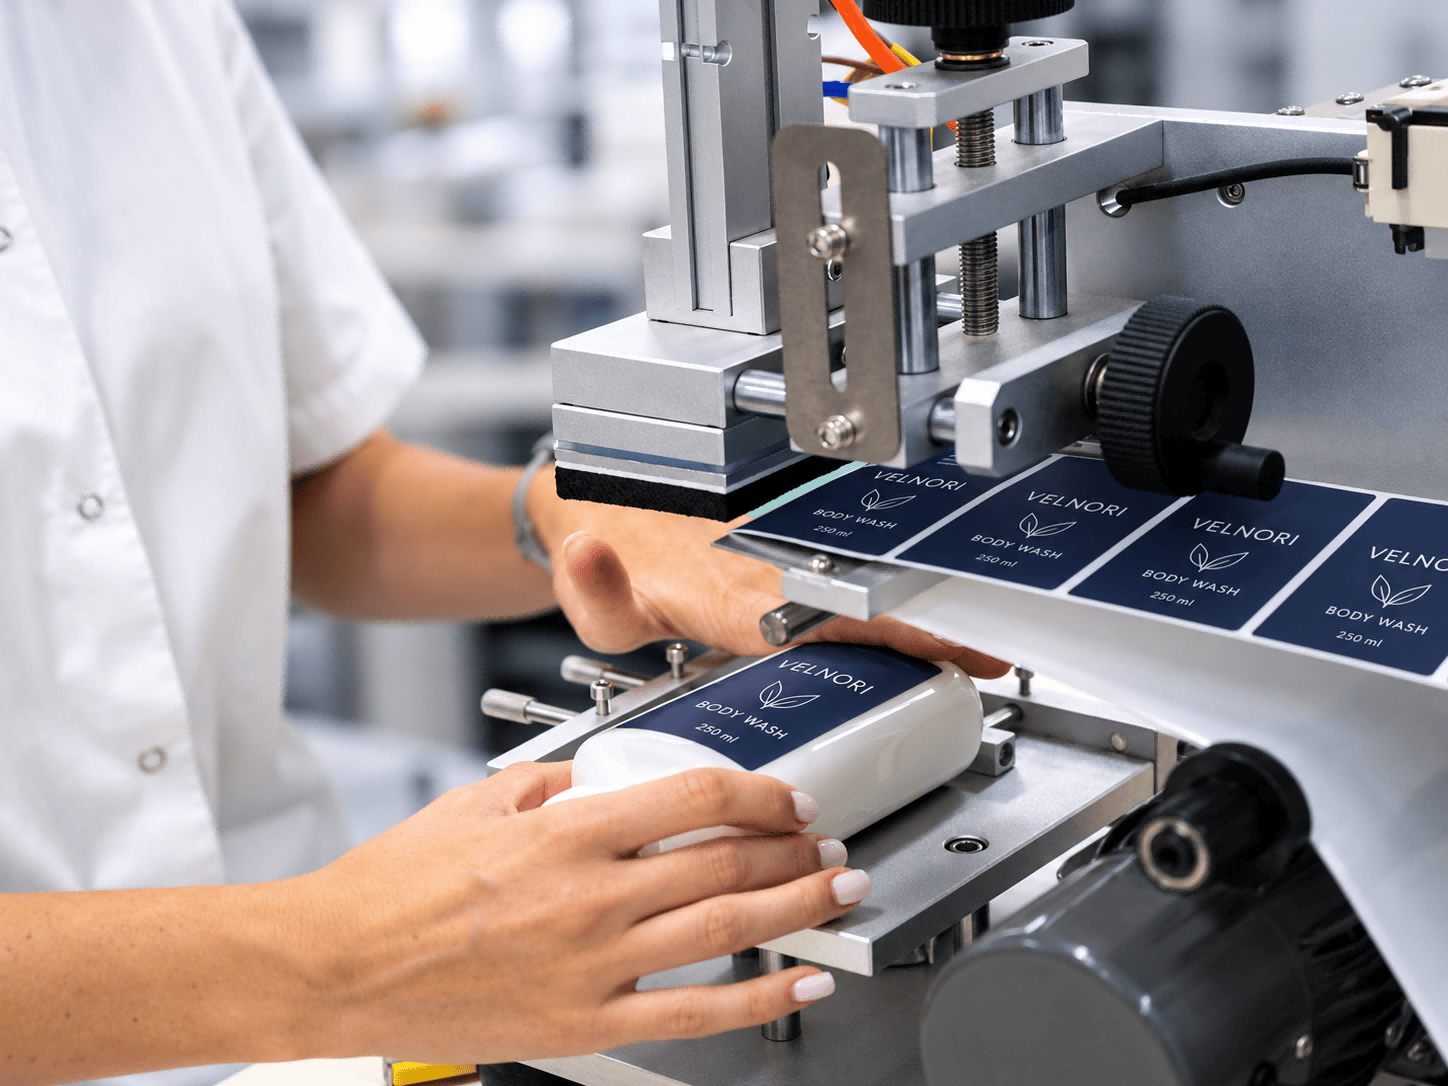
Operator positioning a white bottle beneath a blue label web on a semi-automatic labeling machine
Illustrative setup on a semi-automatic bottle labeling machine.

BEFORE APPROVING THE NEXT RUN

Keep the sampling round small and traceable

Change one factor at a time where practical. Comparing a smaller label, a different face stock and a new adhesive together may find a workable sample, but it will not show which change mattered.

  1. Define the problem: record the lifting position, when it appears and how many samples show it.
  2. Label the samples: give each construction and bottle batch a clear reference.
  3. Agree the checkpoints: inspect after application, after the supplier’s recommended dwell period and after representative storage or handling.
  4. Record the result: photograph the same edge and note lift extent, wrinkles, paper damage and legibility.
  5. Confirm on the line: trial the selected construction with production bottles and normal operating conditions before approving the larger run.

When discussing custom printed labels, send the bottle sample and the current specification with the artwork. A useful brief explains the failure as clearly as the desired appearance.

Technical background: HERMA’s wraparound labeling guidance discusses flexibility on small-radius containers. Avery Dennison’s adhesives glossary explains mandrel hold and application versus service temperature.

BOTTLE LABEL FAQ

Bottle Labels Lifting: Common Questions

These questions cover the practical checks to make when bottle label edges lift, from material selection to application conditions.

The label may initially lie flat but later pull away as the material tries to straighten, the bottle flexes or conditions change. Record when lifting starts, its position and the storage conditions. Compare the complete label construction on the actual bottle after the agreed dwell period.

No. A stronger adhesive cannot correct every size, shape or application problem. A label bridging a shoulder, a stiff construction around a tight curve, contamination or poor edge pressure can still fail. Check those factors alongside adhesive compatibility.

No material is best for every bottle. Paper can suit an appropriate bottle and use environment. Film options differ in stiffness and conformability, so a rigid film is not automatically suitable for a squeezable or tightly curved container. Compare finished samples, including any laminate.

Only when the specified construction and process are suitable for those conditions. Check the supplier’s minimum application temperature and any instructions for wet or condensation-prone surfaces. A service-temperature rating does not by itself show that a label can be applied successfully at that temperature.

Send an actual bottle or drawing, bottle material, label dimensions, the current face stock and adhesive specification, and photos showing the lifting position. Include when the problem appears, application and storage conditions, and the hand or machine labeling method.

DISCUSS YOUR BOTTLE LABEL PROJECT

Send the bottle details with the lifting photos

Share where the label lifts, when it happens and how the bottle is labeled. Include the current material specification, bottle dimensions and intended use conditions so we can discuss suitable sample options for your project.

Discuss Your Label ProjectView Custom Printed Labels